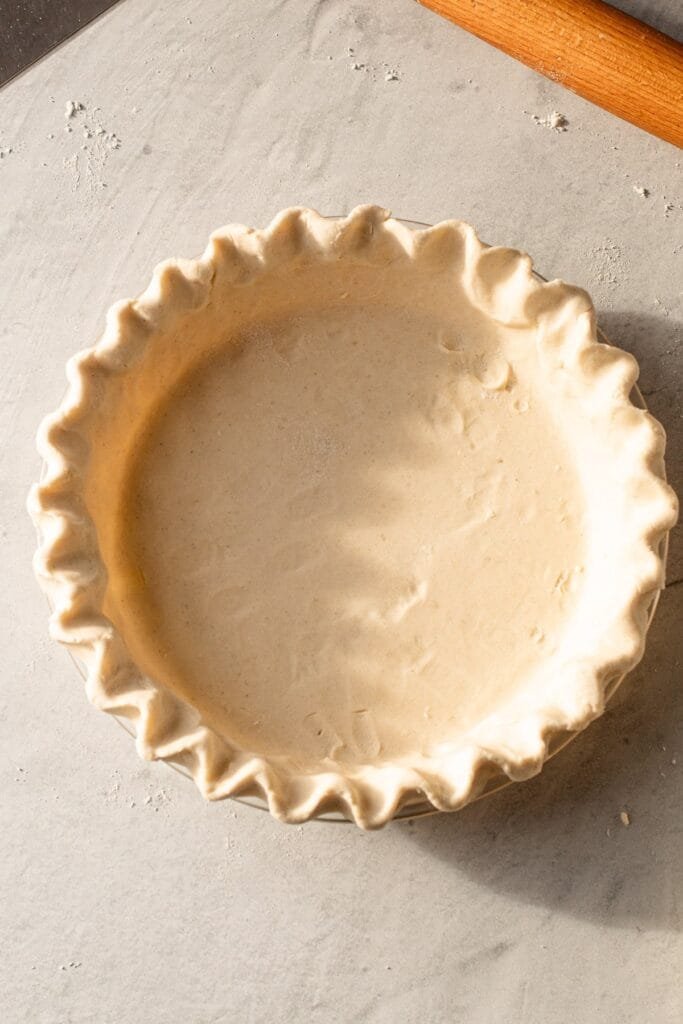
The Perfect Gluten-Free Pie Crust: A Flaky, Buttery Recipe That Rivals Traditional Pastry
Creating the perfect gluten-free pie crust can seem daunting, but with the right ingredients and techniques, you can make a deliciously flaky buttery crust that rivals any traditional pastry. This comprehensive guide will walk you through creating a foolproof gluten-free pie crust that will become your go-to recipe for all your baking needs.
Table of Contents
Why Making Your Own Gluten-Free Pie Crust Matters
Store-bought gluten-free pie crusts often lack the tender, flaky texture that makes homemade pastry special. By making your gluten-free pie crust, you can control the ingredients and achieve that perfect, buttery consistency that’s often missing from commercial alternatives.

The Science Behind a Perfect Gluten-Free Pie Crust
Understanding how different gluten-free flours work together is crucial for creating the perfect pie crust. Unlike traditional wheat flour, gluten-free flour blends require careful balancing to achieve the right structure and texture.
Essential Gluten Free Pie Crust Recipe
Ingredients
For a Single 9-inch Crust:
- 1½ cups gluten-free all-purpose flour blend
- ½ teaspoon xanthan gum (omit if your flour blend contains it)
- ¼ teaspoon salt
- 1 tablespoon sugar
- ½ cup cold unsalted butter, cubed
- 1 large egg, cold
- 2-3 tablespoons ice water
- 1 tablespoon apple cider vinegar
Required Equipment
- Food processor or pastry cutter
- Rolling pin
- Parchment paper
- Pie plate
- Measuring cups and spoons
- Plastic wrap
- Refrigerator
Step-by-Step Instructions
- Prepare the Dry Ingredients
- Whisk together gluten-free flour blend, xanthan gum, salt, and sugar
- Ensure all ingredients are well combined
- Cut in the Butter
- Add cold butter cubes to the flour mixture
- Pulse in a food processor or cut with a pastry cutter until the mixture resembles coarse crumbs
- Some pea-sized butter pieces should remain for flakiness
- Add Wet Ingredients
- Whisk together egg, 2 tablespoons ice water, and vinegar
- Gradually add to the flour mixture while pulsing
- Add additional ice water if needed until the dough comes together
- Shape and Chill
- Form dough into a disk
- Wrap in plastic wrap
- Refrigerate for at least 1 hour or up to 2 days
- Roll and Transfer
- Roll between two pieces of parchment paper
- Transfer to a pie plate
- Crimp edges as desired
Tips for Perfect Gluten-Free Pie Crust
Temperature Control
Keep all ingredients cold throughout the process. This is crucial for achieving a flaky gluten-free pie crust. Chill your tools if possible.
Handling Techniques
- Roll dough between parchment paper to prevent sticking
- Work quickly to keep ingredients cold
- Patch any tears with extra dough
- Don’t overwork the dough
Troubleshooting Common Issues
- Too crumbly? Add more ice water, one teaspoon at a time
- Too sticky? Add more gluten-free flour blend
- Cracks while rolling? Let the dough warm slightly
Variations on Classic Gluten Free Pie Crust
Dairy-Free Version
- Replace butter with cold coconut oil or dairy-free butter substitute
- Maintain the same chilling requirements
- May require slight adjustment to liquid amounts
Sweet Variation
- Add an extra tablespoon of sugar
- Include ½ teaspoon vanilla extract
- Perfect for dessert pies
Savory Adaptation
- Omit sugar
- Add ½ teaspoon of herbs or spices
- Ideal for quiche or pot pies
Storage and Make-Ahead Tips
Storing Your Gluten Free Pie Crust
- Refrigerated dough: Up to 2 days
- Frozen dough: Up to 3 months
- Baked crust: Up to 3 days at room temperature
Freezing Instructions
- Double wrap dough disk in plastic
- Place in a freezer bag
- Thaw overnight in the refrigerator before using
Common Questions About Gluten Free Pie Crust
Why Use Vinegar?
Vinegar helps tenderize the crust and prevents the formation of tough proteins, resulting in a flakier gluten free pie crust.
Can I Use Any Gluten-Free Flour?
Not all gluten-free flours work equally well. Use a blend specifically formulated for pastry or a reliable all-purpose gluten-free flour blend.
Why Is My Crust Tough?
Overworking the dough or using too much liquid can result in a tough crust. Handle minimally and add liquid gradually.
Why This Recipe Works
This gluten-free pie crust succeeds because it:
- Uses the right ratio of ingredients
- Incorporates proper techniques
- Maintains cold temperatures
- Provides structure without gluten
- Creates flaky layers
- Holds together well
Nutritional Considerations
A gluten-free pie crust offers:
- A safe option for celiac disease
- Alternative for gluten sensitivity
- Similar calories to traditional crust
- Comparable fiber content with the right flour blend
- Good source of healthy fats from butter
Final Thoughts on Gluten-Free Pie Crust
Making a successful gluten-free pie crust requires attention to detail and proper technique, but the results are worth the effort. With this recipe and tips, you can create a flaky, tender crust that everyone will enjoy, whether they follow a gluten-free diet or not.
Remember that practice makes perfect when working with gluten-free pie crust. Don’t be discouraged if your first attempt isn’t perfect – each time you make it, you’ll develop a better feel for the dough and what works best. Soon you’ll be creating beautiful, delicious pies that no one will guess are gluten-free.


